Welcome to Healthypi 5 !
Getting started with pre-compiled Firmware Images
The following firmware images are available for download. These are pre-compiled and ready to be flashed onto the device, no programming required.
Downloading the firmware onto the HealthyPi Complete Kit
The HealthyPi 5 can be programmed using the UF2 bootloader. The UF2 bootloader is a USB mass storage bootloader that makes it easy to program the HealthyPi 5. This can be done by dragging and dropping the UF2 file onto the HealthyPi 5 drive, just follow the steps below:
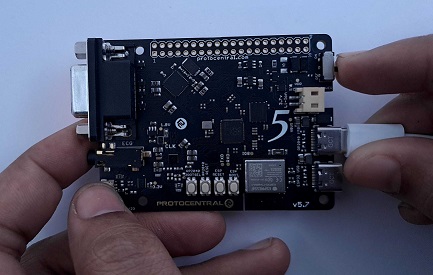
Step 1: Connect your device to a computer using a USB C cable (not included with the kit, you will need to get one separately)
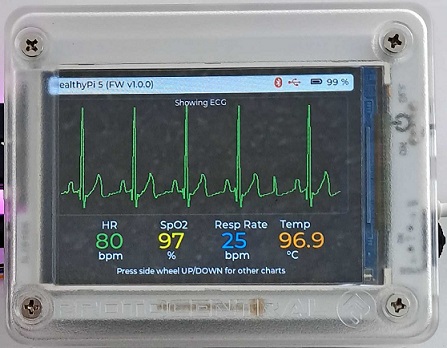
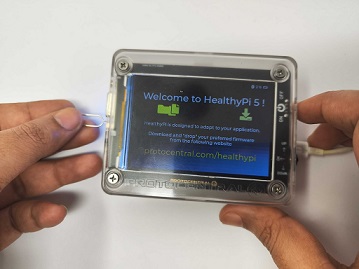
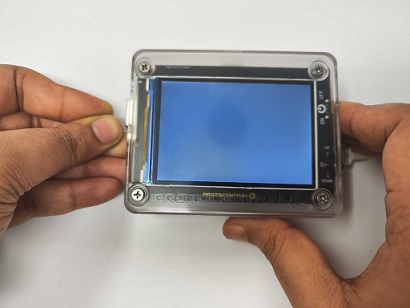
Step 2: Switch on the device. A fresh device will boot up and display the following screen in a Healthypi 5 Complete Kit. Turn the device off and get ready to program the device.
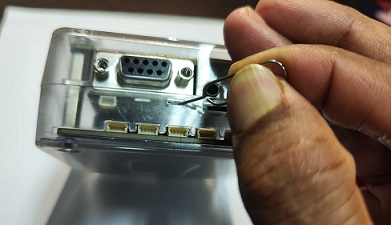
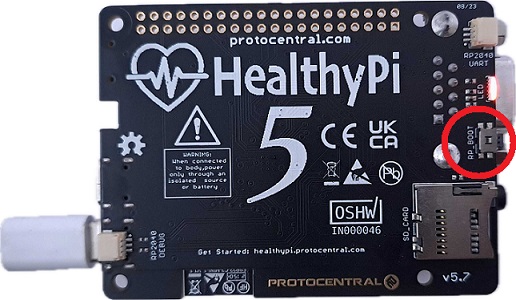
Step 3: Press and hold the RP2040 boot button on the device. The RP2040 boot button is located on the side of the Healthypi Complete Kit, near the SpO2 port.
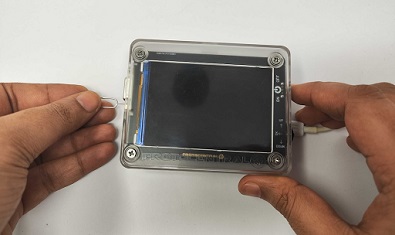
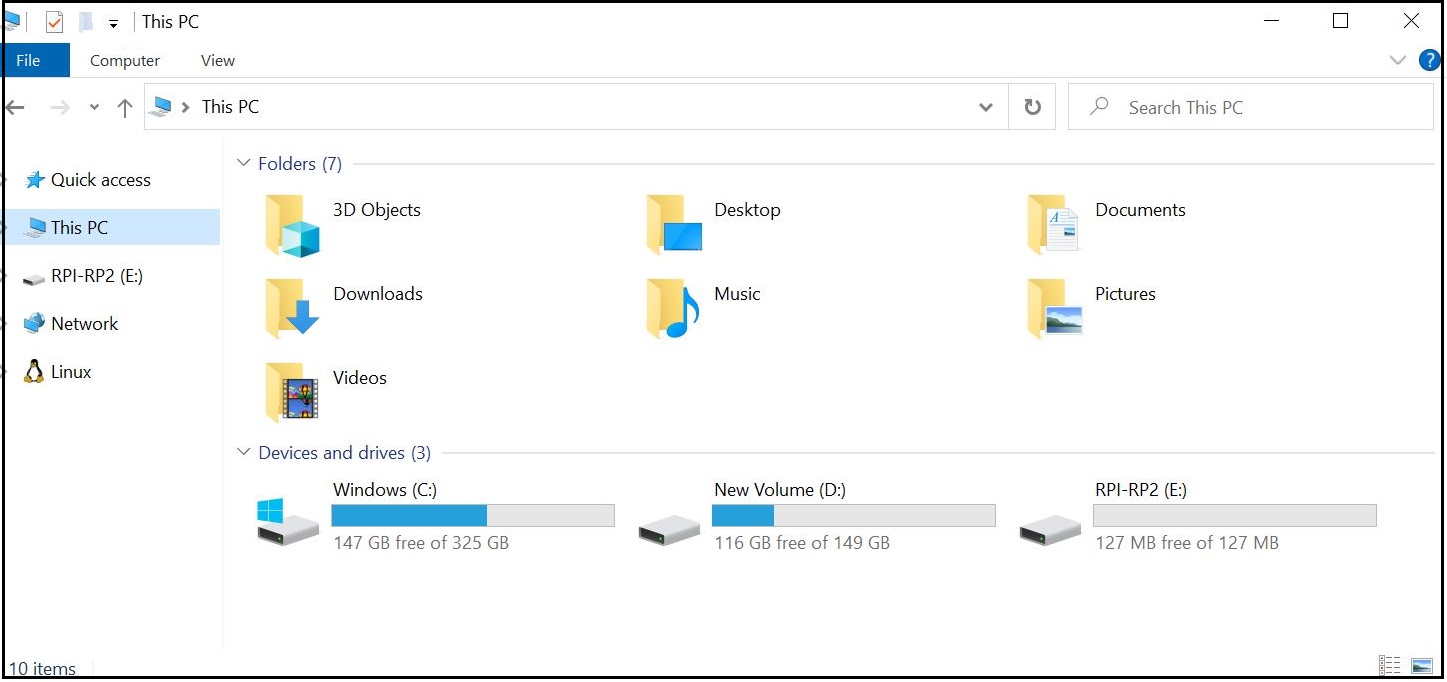
Step 4: Turn on the device while holding the RP2040 boot button. The device will now boot up in programming mode. The device will be detected as a USB mass storage device on your computer and will be displayed as RPI-RP2.
Step 5: Choose and download the firmware from the table above. The firmware will be downloaded as a .uf2 file.
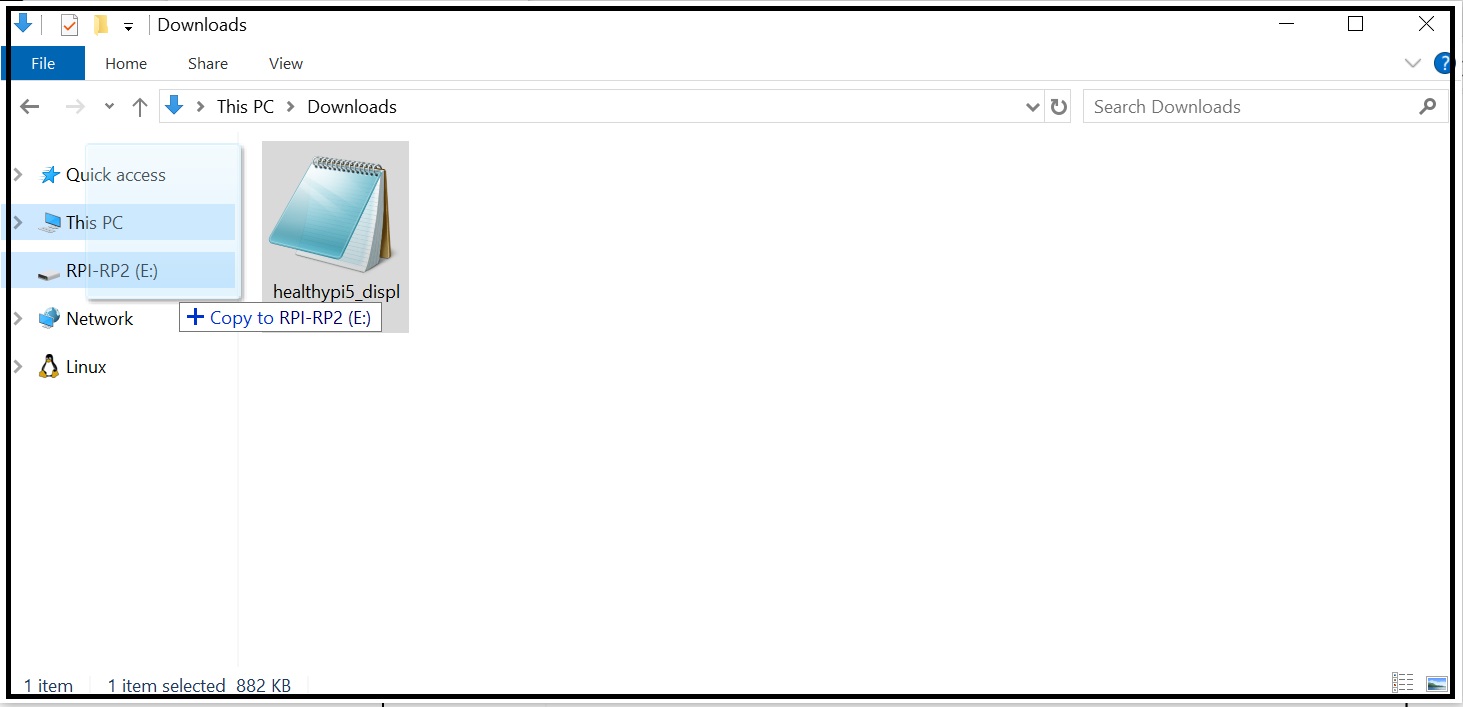
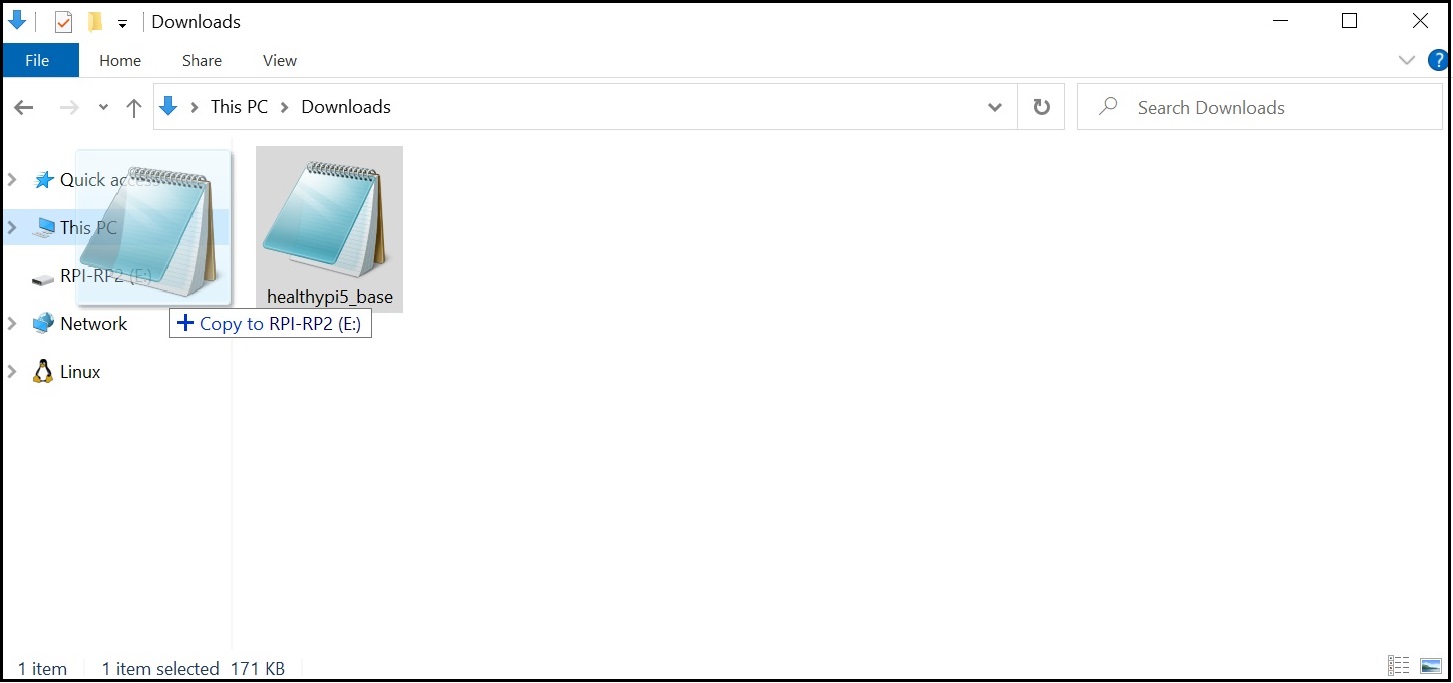
Step 6: Drag and drop the .uf2 file onto the RPI-RP2 drive. The device will now be programmed with the new firmware. The device will reboot and the new firmware will be loaded.
The device is now ready to use !
Downloading the firmware onto the HealthyPi Basic Kit
Follow the steps below to program your Healthypi 5 basic kit using the UF2 bootloader:
Step 1: Connect your device to a computer using a USB C cable (not included with the kit, you will need to get one separately)
Step 2: Switch on the device. The red LED below the main board glows when the Healthypi 5 basic kit is switched on. Switch off the device and get ready to program.
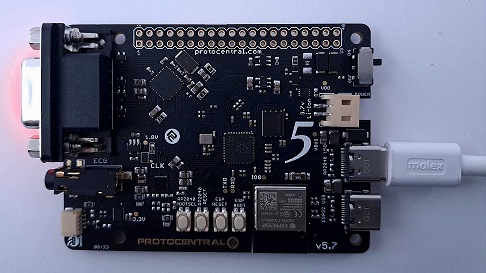
Step 3: Press and hold the RP2040 boot button on the device. The RP2040 boot button is located on the side of the Healthypi 5 main board.
Step 4: Turn on the device while holding the RP2040 boot button. The device will now boot up in programming mode. The device will be detected as a USB mass storage device on your computer and will be displayed as RPI-RP2.
Step 5: The Basic kit of Healthypi supports the Basic firmware. Choose and download the firmware from the table above. The firmware will be downloaded as a .uf2 file.
Step 6: Drag and drop the .uf2 file onto the RPI-RP2 drive. The device will now be programmed with the new firmware. The device will reboot and the new firmware will be loaded.
The device is now ready to use !
For more information on programming the HealthyPi 5, please refer to the Programming sections in the menu on this page.
Note
If you find any errors on this page, outdated information, or have any other suggestion for improving its contents, please consider opening an issue.